This article was written by Josh Rouse, an expert at Thermaxx Jackets
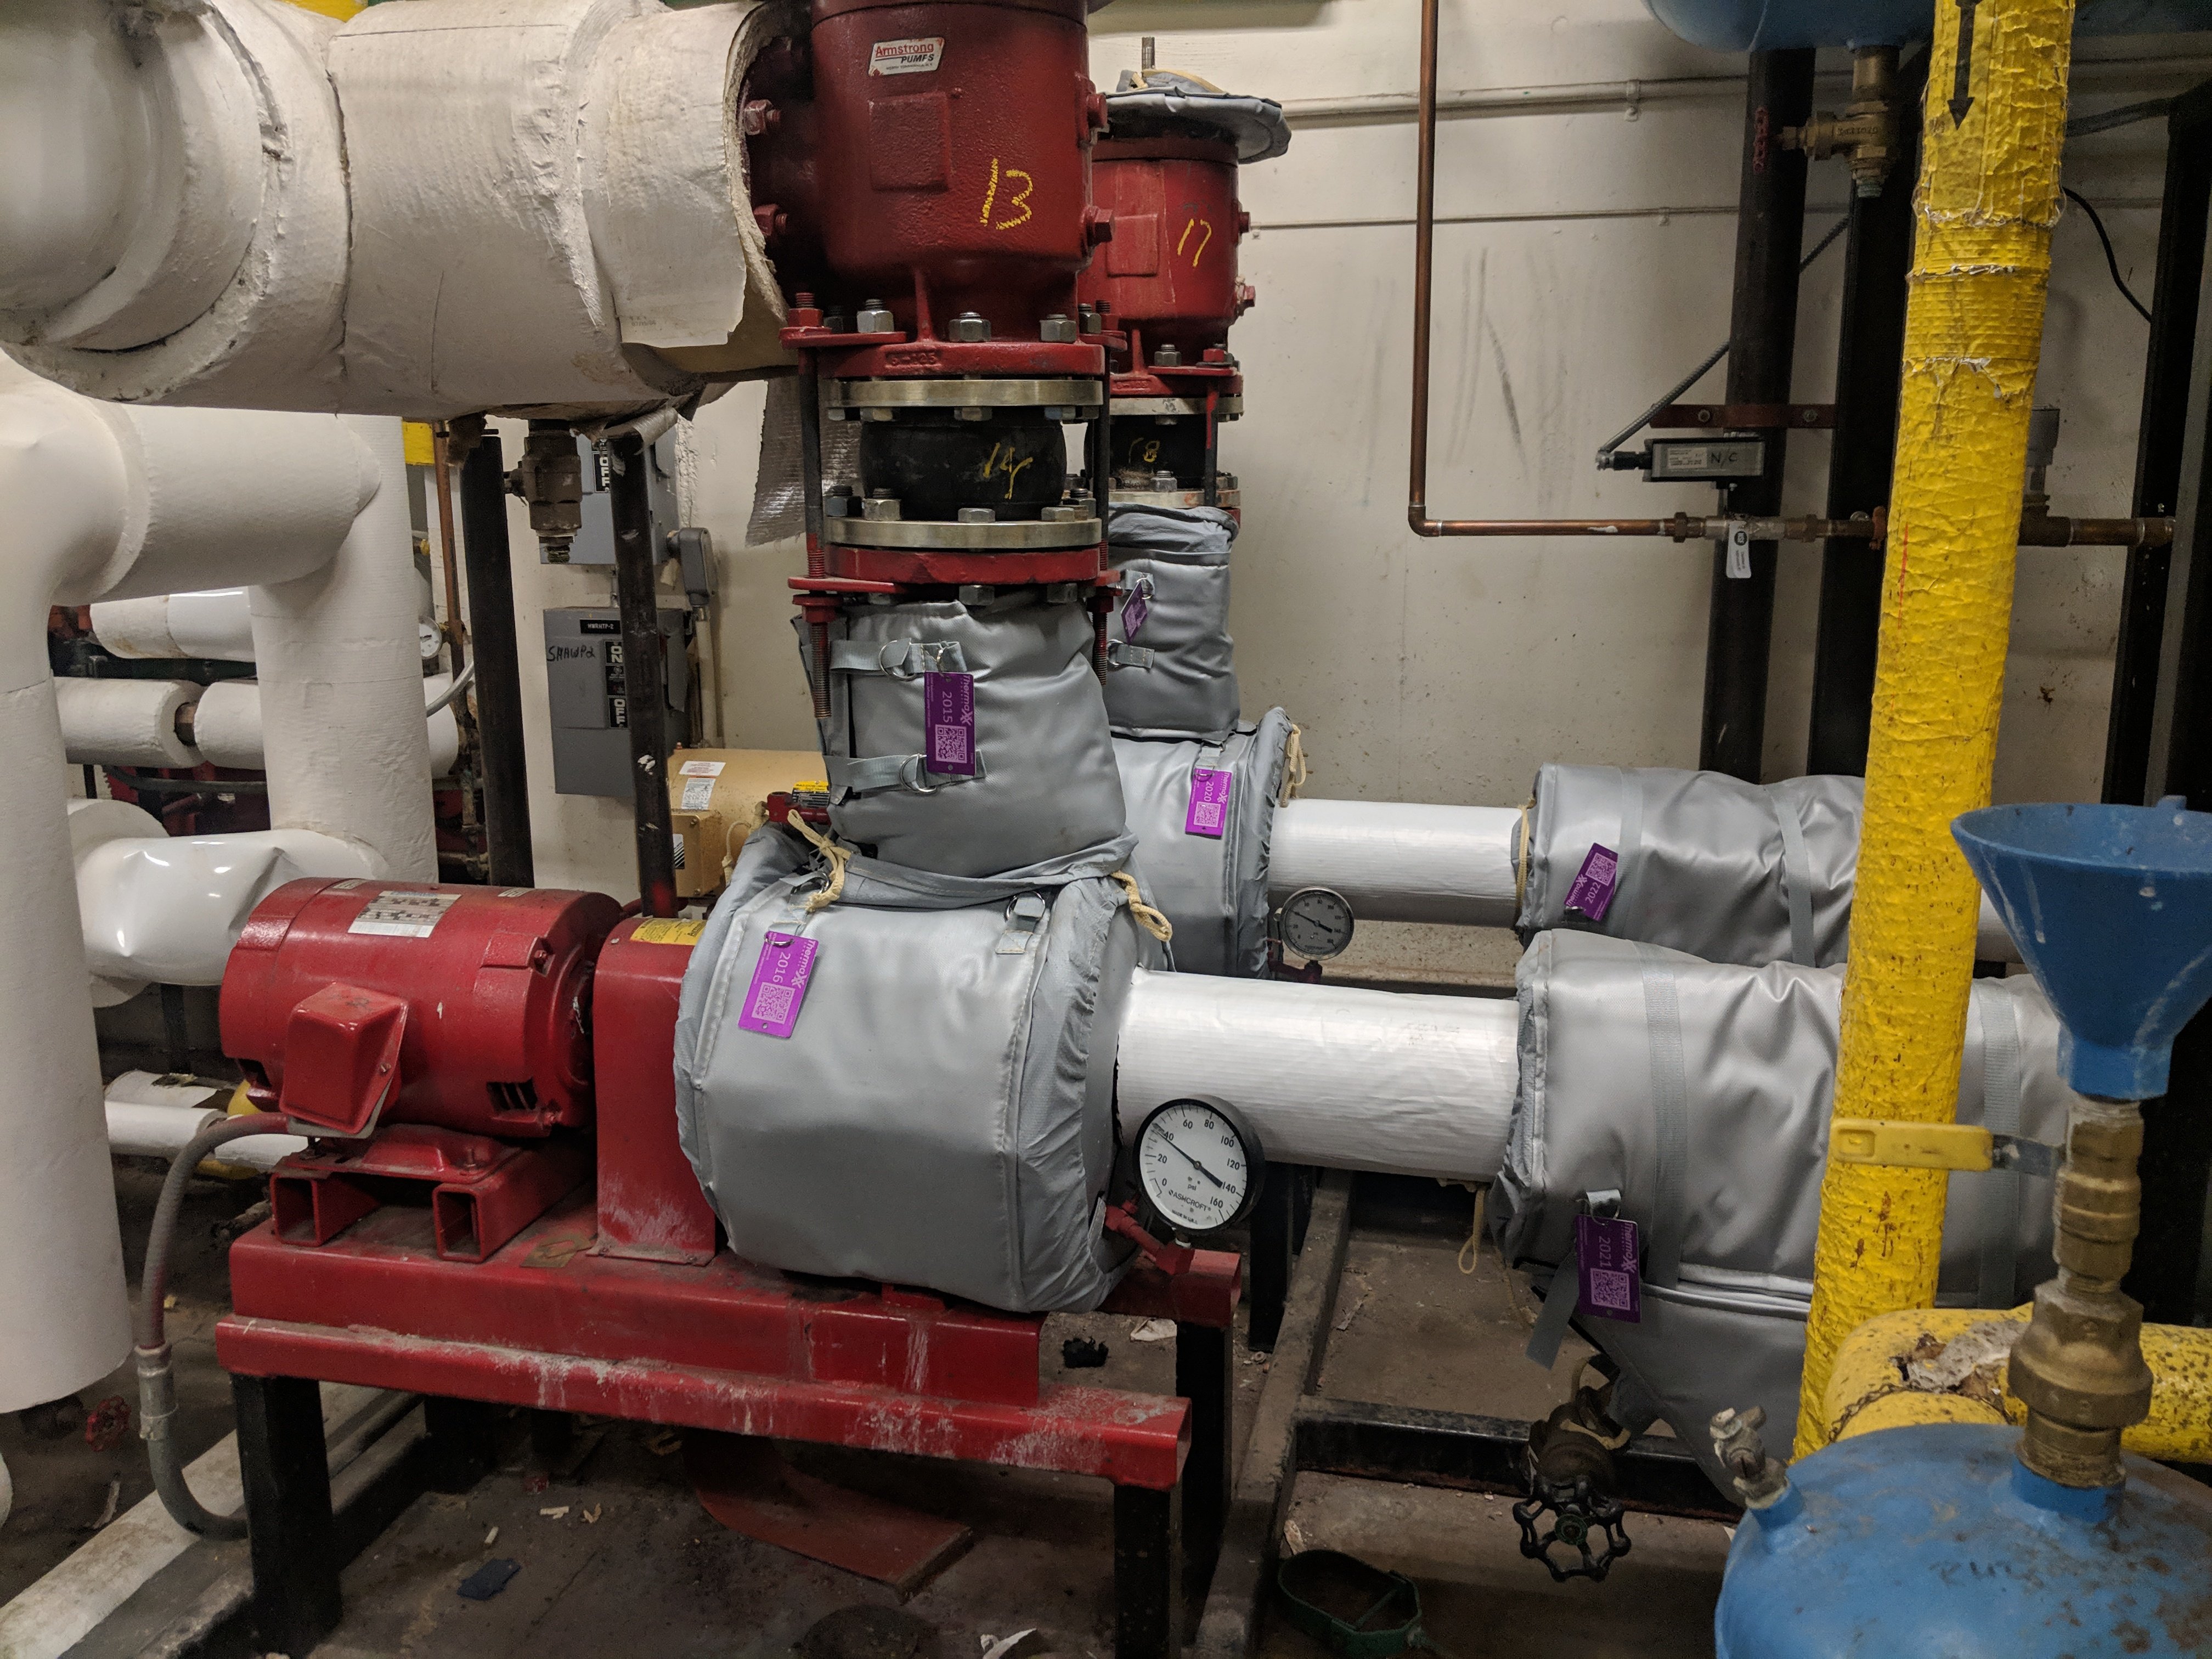
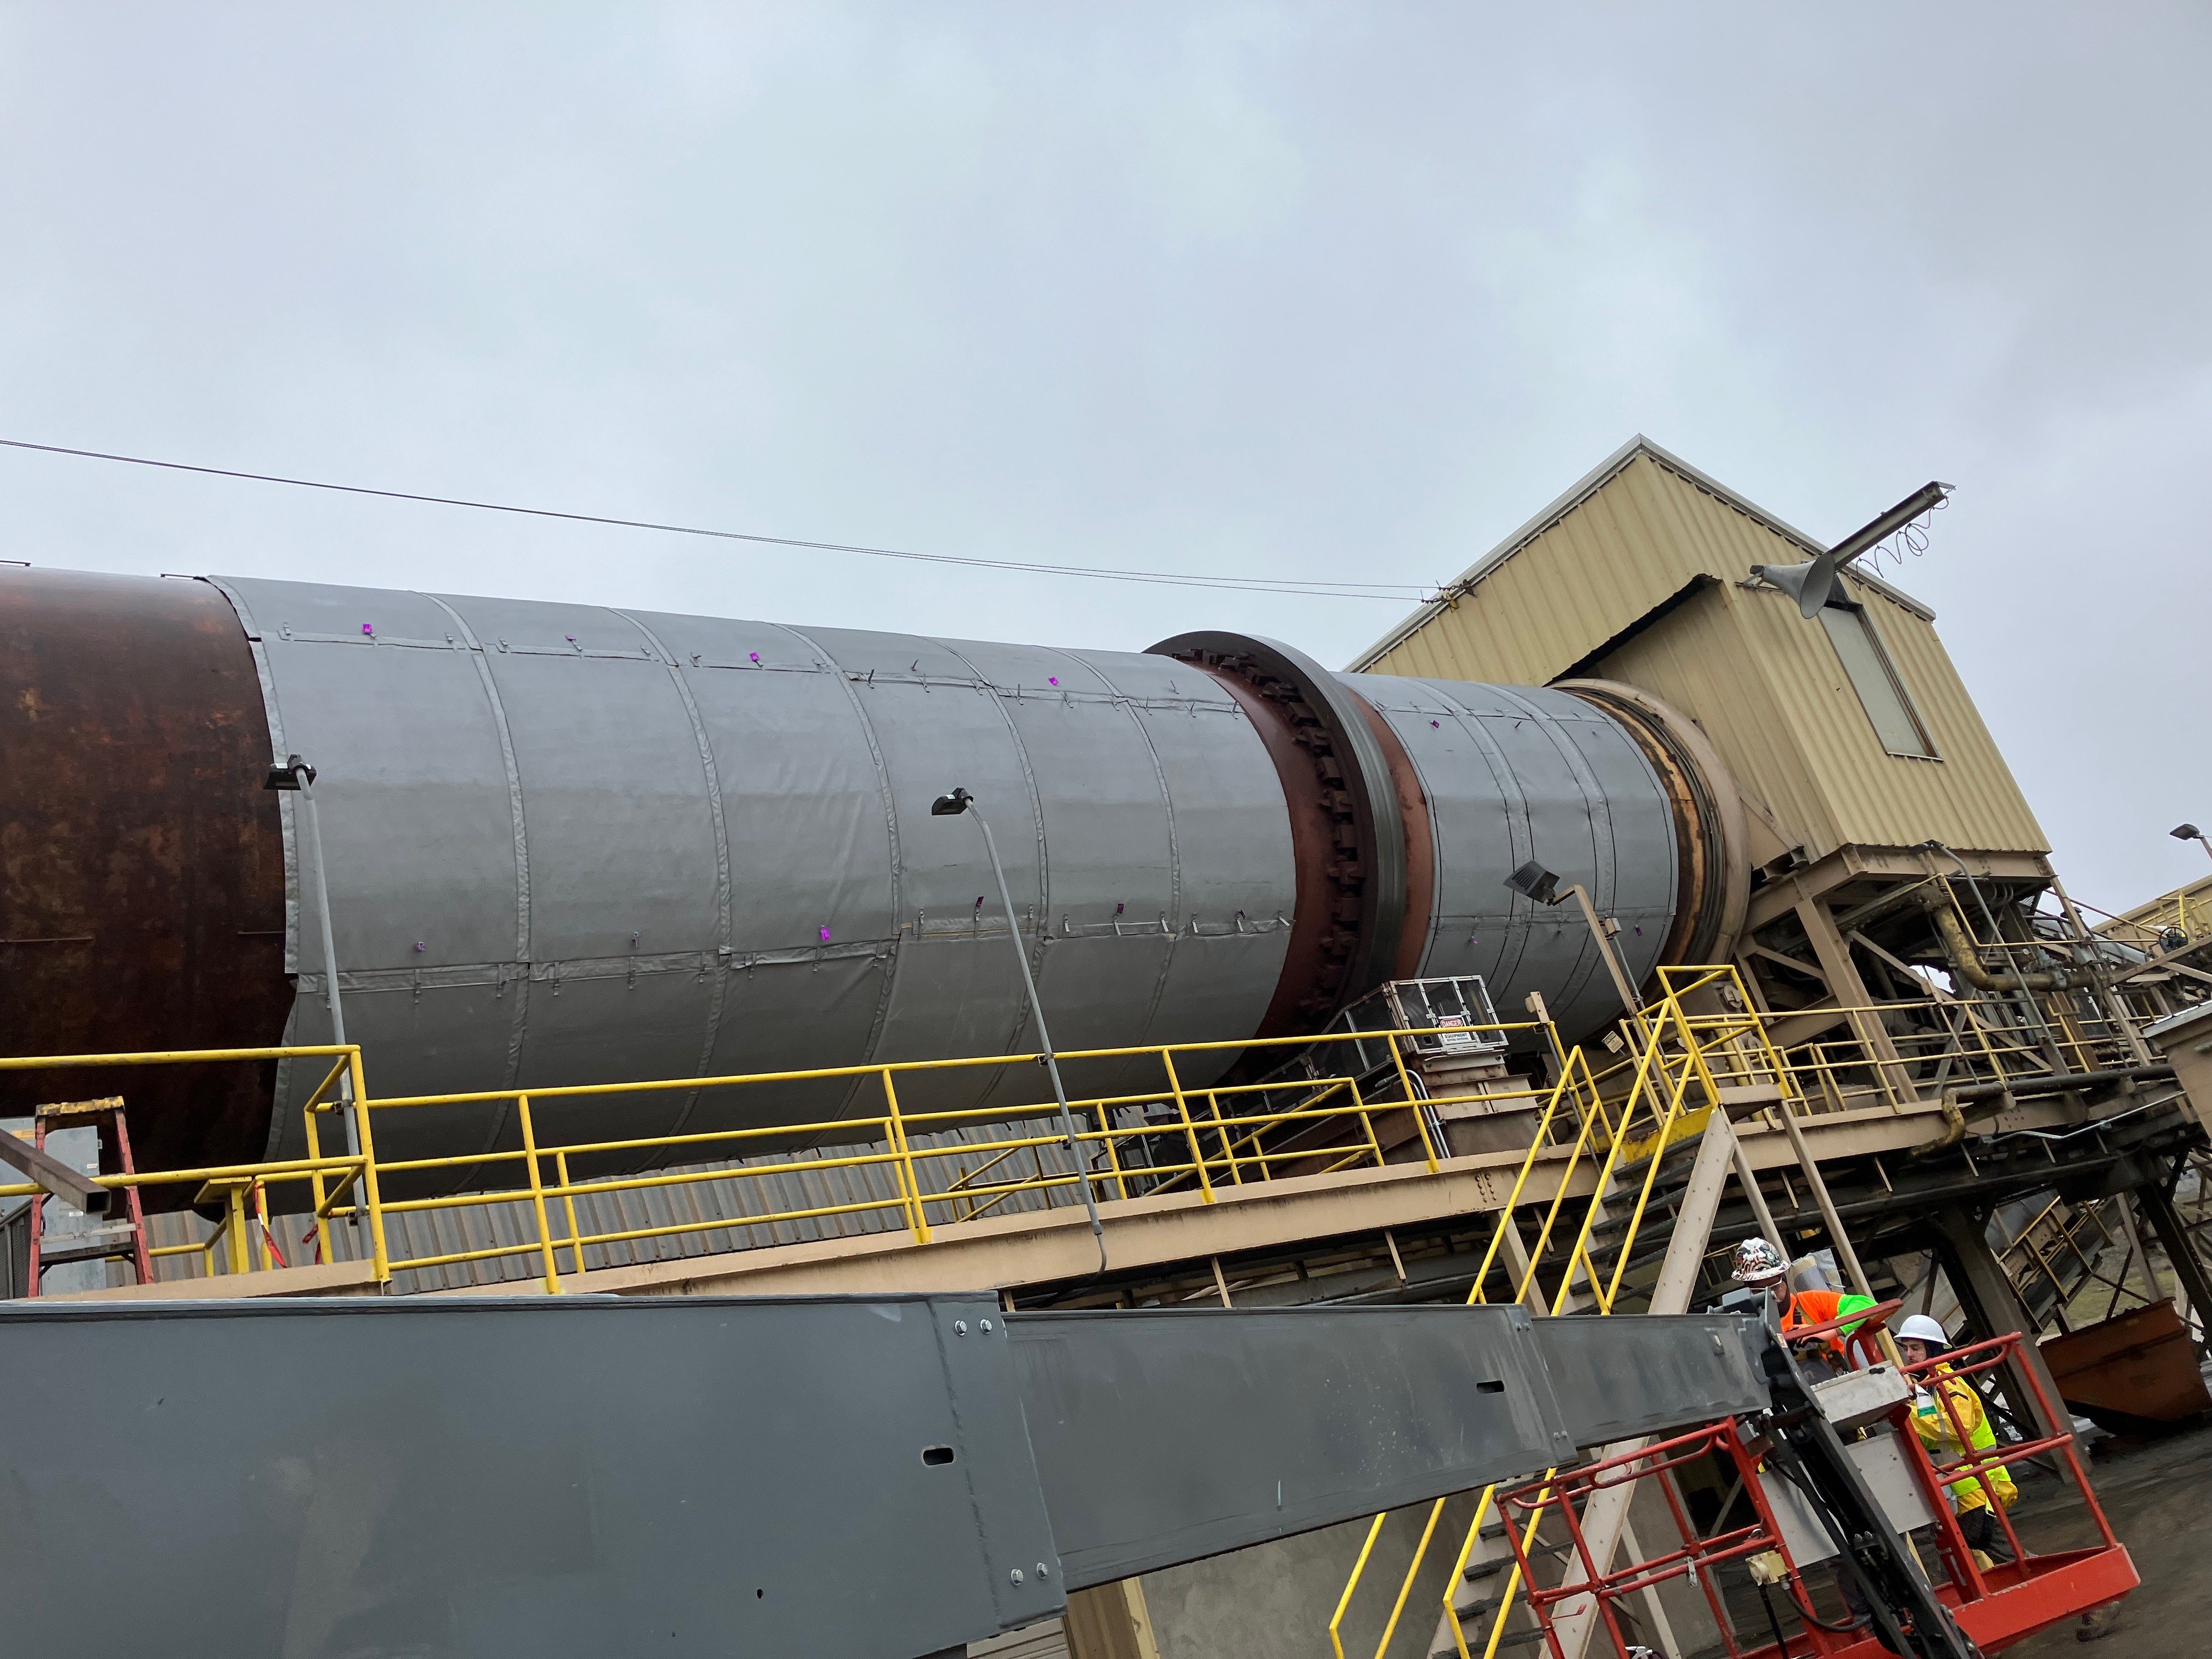
Installing a SmartJackets is a simple process that begins once Smart Jacket-ready jackets (other insulation) has been prepared for the components that will be monitored.
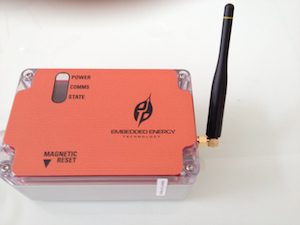
The first step involved is plugging the gateway into a power source. The gateway contains a radio that communicates with the SmartJacket nodes, and a cellular modem that sends the data to the internet. Prior to installation, our team determines the ideal cellular carrier for the facility and estimates the number of gateways required.
 Once the gateway is plugged in and configured, the SmartJacket nodes can be installed. Each node has batteries and an onboard radio to communicate with the gateway.
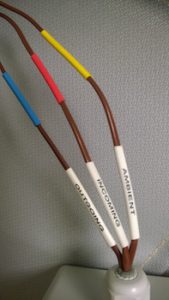
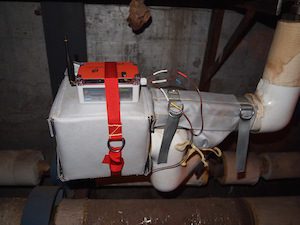
In addition, the nodes have three thermocouple probes to measure temperatures, and an onboard temperature node. The thermocouples are labelled ambient, incoming and outgoing and have probes on the tips to monitor the temperatures of the component they will be assigned to. The node is strapped to the jacket or insulation that is covering the component. The incoming thermocouple is placed inside the jacket covering the incoming (supply) side. The outgoing thermocouple is placed inside the jacket of the outgoing, or (condensate) side. The ambient thermocouple is allowed to hang freely about 1ft. away from the component. The antenna is positioned so as to provide optimal communication with the nearest gateway.
It is important when placing the incoming and outgoing thermocouples that the probe tip is touching the pipe and not exposed to ambient air. This ensures that the measured temperatures match those of the steam/condensate inside the pipe and allows SmartJackets to be installed on an operational system without disruption.
 To activate the node for the first time, a magnet simply needs to be placed near the node in the appropriate location. This ‘wakes up’ the node and send a report to an online portal where temperatures can be monitored. From that point on, the node will take readings every 30 minutes and update the portal – unless again triggered by a magnet, which will prompt an immediate reading that can be helpful for troubleshooting and verification.
The final step in the installation process is assigning the node a virtual identity and location to coincide with the real-world. This is done using our iPhone application. The application scans the identifier on the jacket and will pair the SmartJacket node to a jacket and corresponding component once it has received a node serial number form the installer.
 The application then prompts the user for a photo of the jacket identifier, the node serial number, and a ‘standing back’ photo of the entire component. It then prompts the user to identify the node in the photo along with incoming, ambient, and outgoing probe locations so that this photo can be used on the portal and live temperatures overlaid. After completing these steps, your SmartJacket is up and running and ready to be monitored on the online portal. Alerts will be texted/emailed in the event of a failure and monthly reports will be produced showing the current status of each component, the total amount of energy saved by the insulation, and historic information.
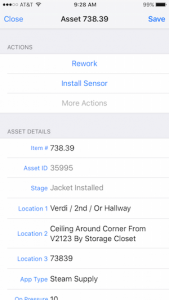
The SmartJacket package includes initial installation, three years of monitoring (which encompasses portal access and any cellular data plans), and a three year full replacement warranty.